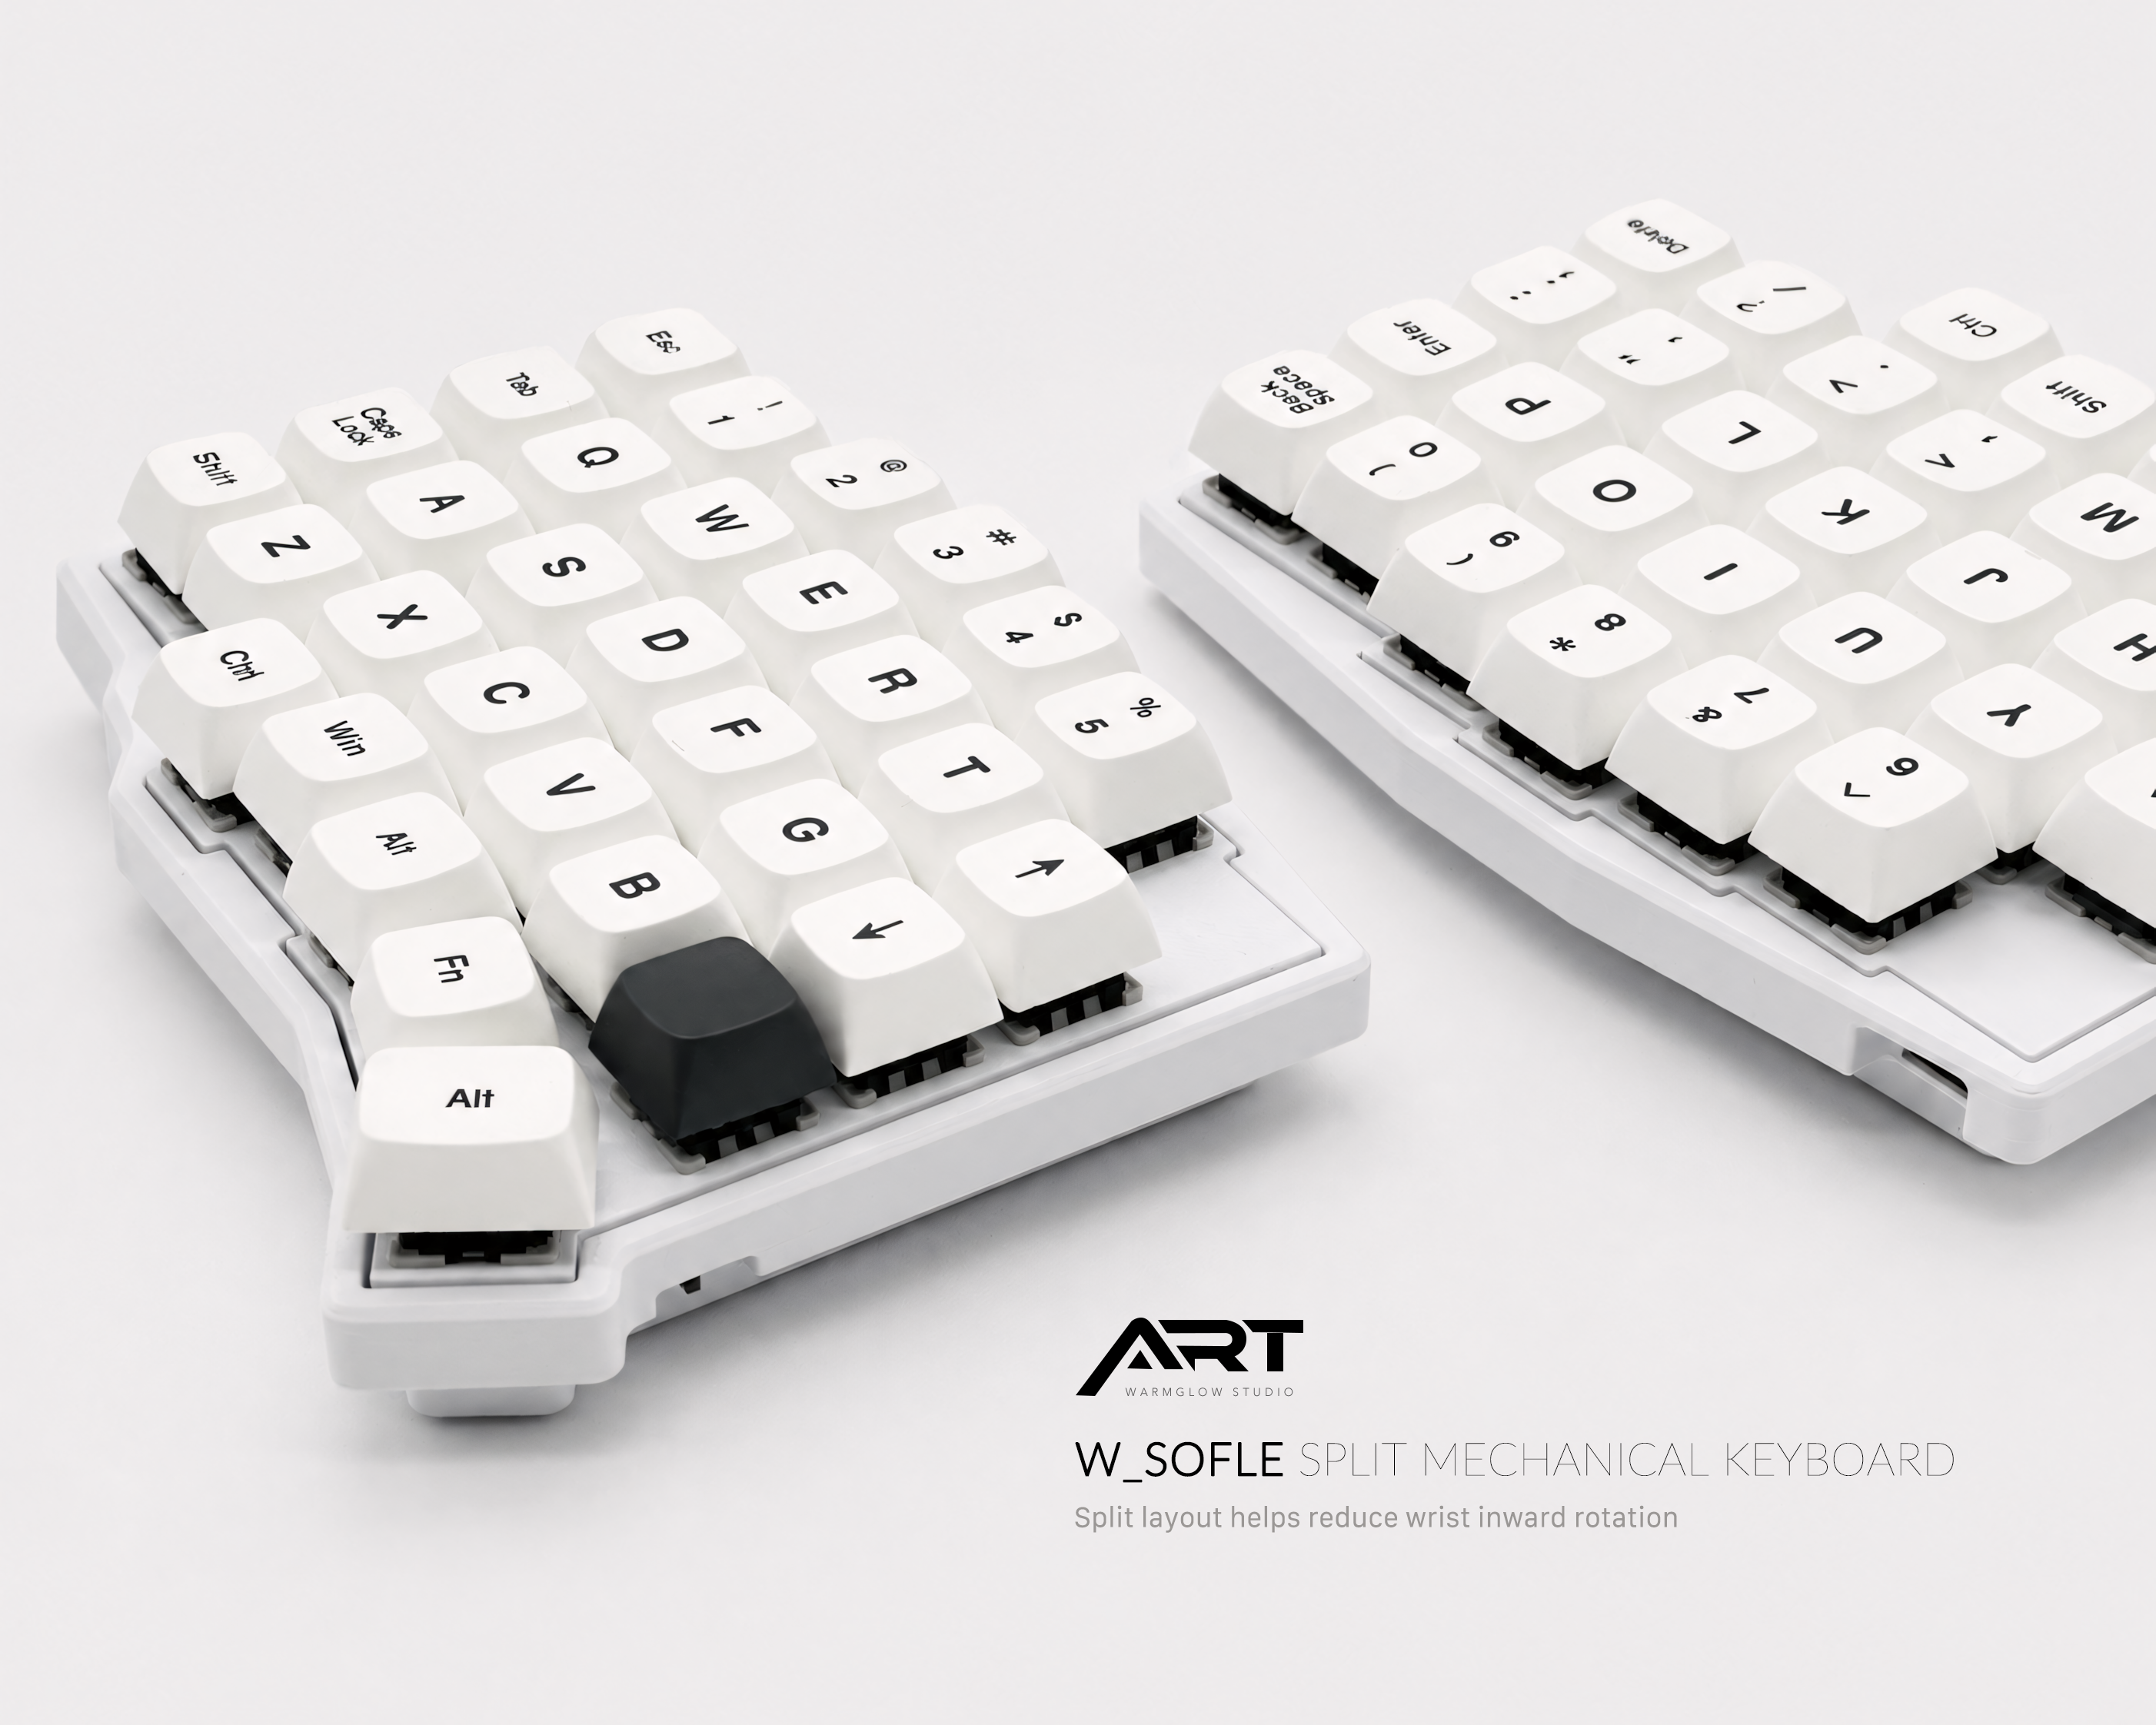
How to Set Up Your Split Keyboard for the First Time: A Step-by-Step Guide
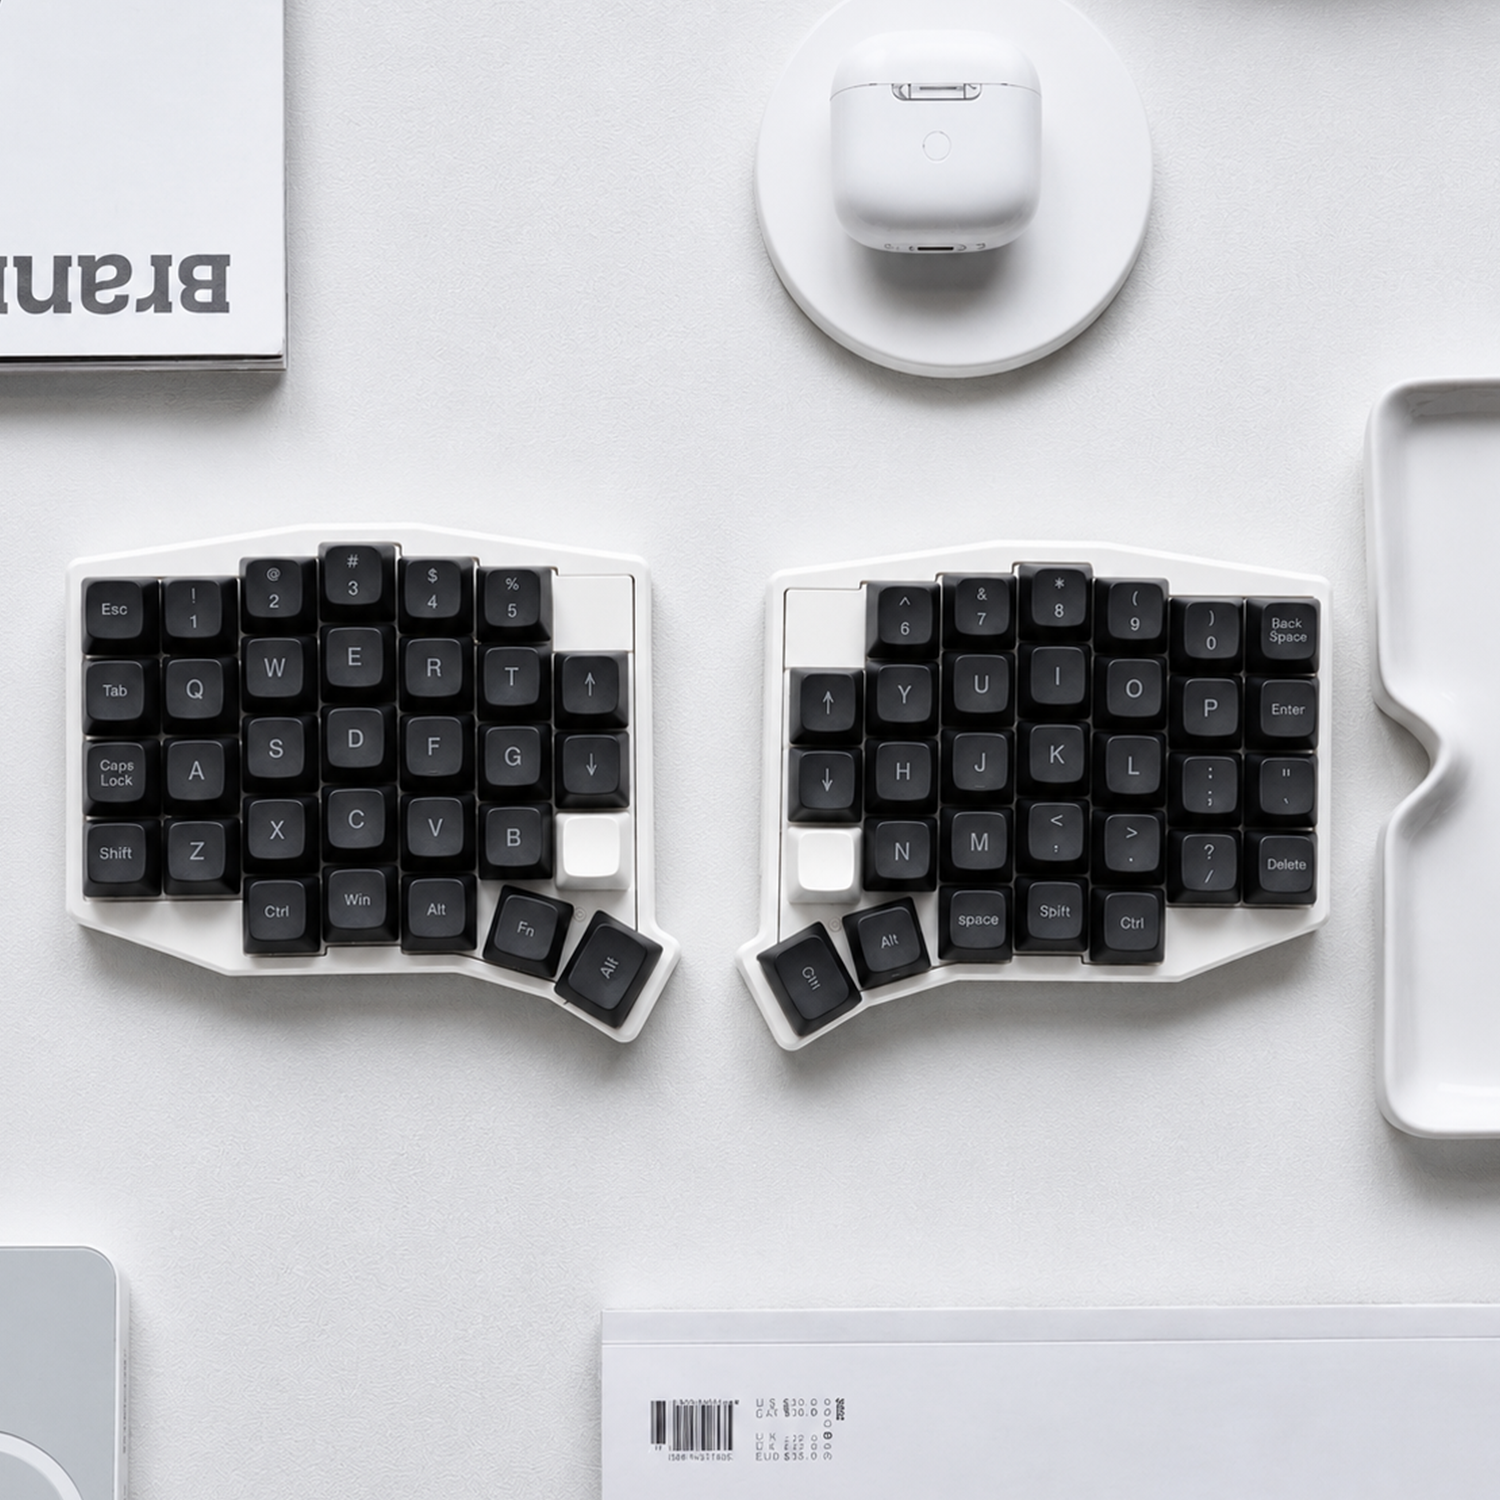
Getting a split keyboard out of the box and ready to use involves a few steps that aren't obvious if you've only ever used standard keyboards. This guide covers the complete first-time setup process for Artkeeb split keyboards — wired QMK/VIAL, 2.4G wireless, and Bluetooth ZMK — so you know exactly what to do from the moment you open the box.
What's in the Box
Most Artkeeb split keyboards ship with:
- Left and right keyboard halves
- USB-C cable (for wired models) or 2.4G USB receiver (for wireless models)
- Wrist rests (one per half)
- Keyboard stands
- A switch puller (for hot-swapping switches)
Confirm everything is present before starting. If anything is missing, contact us before proceeding.
Part 1: Wired QMK / VIAL Setup
Step 1: Connect the keyboard
Connect the keyboard to your computer using the included USB-C cable. On most split keyboards, the USB-C port is on the left half — plug the cable into the left half, not the right.
Your computer should recognize the keyboard immediately as a standard HID input device. No drivers required on Mac, Windows, or Linux.
Step 2: Test that both halves work
Open a text editor and type from both halves of the keyboard. Keys on both sides should produce characters. If only one side works, check:
- Is the cable plugged into the correct half (usually left)?
- Is the inter-half connection cable (if your model uses one) fully seated?
- On wireless inter-half models, is the right half powered on?
Step 3: Install VIAL for key remapping (optional but recommended)
VIAL lets you customize every key through a graphical interface. You don't need it to use the keyboard — the default layout works immediately — but it's worth installing now so it's ready when you want to customize.
- Go to get.vial.today
- Download the version for your operating system
- Install and open VIAL
- With the keyboard plugged in, your keyboard should appear automatically
If VIAL doesn't detect your keyboard, make sure the keyboard has VIAL firmware (not just QMK). All Artkeeb wired keyboards ship with VIAL pre-installed.
Step 4: Explore the default layout
Before making any changes, spend a few days with the default layout. Get familiar with where the layer keys are (usually on the thumb cluster) and what each layer does. The default keymap is designed to be usable immediately for most workflows.
When you're ready to customize, see our VIAL beginner's guide for a full walkthrough.
Part 2: 2.4G Wireless Setup
Step 1: Insert the USB receiver
Plug the included 2.4G USB receiver into a USB-A port on your computer. If your computer only has USB-C ports, use a USB-C to USB-A adapter (not included).
Step 2: Power on the keyboard
Turn on both keyboard halves using the power switch on each half (usually on the side or underside). The keyboard connects to the receiver automatically — no pairing process required.
Step 3: Test both halves
Open a text editor and test keys on both sides. Both halves should work immediately.
Step 4: Connect to VIAL for remapping (optional)
2.4G wireless Artkeeb keyboards support VIAL remapping through the USB receiver. With the receiver plugged in and the keyboard powered on, open VIAL — the keyboard appears the same as a wired keyboard and is fully configurable in real time.
Step 5: Charging
2.4G keyboards include a rechargeable battery in each half. Charge via USB-C when the battery is low. You can use the keyboard while charging (the keyboard switches to wired mode automatically when plugged in on some models — check your specific model's documentation).
Part 3: Bluetooth ZMK Setup
ZMK Bluetooth setup is slightly more involved than 2.4G, but the process is straightforward once you understand how ZMK handles connections.
Step 1: Power on both halves
Turn on both halves using the power switch. The two halves pair with each other automatically — this is pre-configured in the firmware and happens without any input from you.
Allow 10–15 seconds for the inter-half connection to establish before proceeding.
Step 2: Enter Bluetooth pairing mode
On most ZMK keyboards, the keyboard enters pairing mode automatically when first powered on. If it doesn't, use the Bluetooth profile key combination (typically a key on a function layer — check your keyboard's default keymap documentation).
Step 3: Pair with your computer
On your computer:
- Mac: System Settings → Bluetooth → look for your keyboard in the list → click Connect
- Windows: Settings → Bluetooth & devices → Add device → Bluetooth → select your keyboard
- iPad/iPhone: Settings → Bluetooth → select your keyboard
The keyboard should appear as "Artkeeb [model name]" or similar. Select it to pair.
Step 4: Test the connection
Type in a text editor to confirm both halves are working. If only one half works, wait a few more seconds for the inter-half connection to fully establish, then try again.
Step 5: Set up additional Bluetooth profiles (optional)
ZMK supports up to five Bluetooth profiles, letting you pair to multiple devices and switch between them. To add a second device:
- Switch to a new Bluetooth profile (usually by holding a function key and pressing a number key — check your keymap documentation)
- The keyboard enters pairing mode for the new profile
- Pair with the second device as in Step 3
Switch between paired devices by switching Bluetooth profiles with the key combination.
Physical Setup: Positioning Your Split Keyboard
How you position the keyboard matters as much as the keyboard itself.
Half positioning
Start with the two halves roughly at shoulder width. Your elbows should be close to 90 degrees, with your forearms roughly parallel to the floor. Your wrists should be straight — not bent up, down, or sideways — when your fingers rest on the home row.
Most people start with the halves slightly closer together than optimal and gradually move them wider as they get comfortable. Don't try to jump straight to maximum width on day one.
Tenting
The included stands allow you to angle each half slightly upward on the inner edge (tenting). Tenting reduces forearm pronation — the rotation of your forearms so your palms face down — and can significantly reduce forearm and wrist tension.
Start with a small tent angle if you've never used a tented keyboard. A few degrees is enough to notice the difference. Increase gradually over days or weeks as it starts to feel natural.
Wrist rests
Position the wrist rests so they support your wrists during pauses, not while actively typing. The standard ergonomic recommendation is to keep wrists off the rest while typing and rest them during pauses. This lets your hands float freely during keystrokes rather than pivoting on a fixed point.
The First Two Weeks: What to Expect
Week 1
Typing will feel slow and awkward. You'll reach for keys that aren't where you expect them. The split position will feel unusual. This is completely normal — your muscle memory is calibrated for a different keyboard geometry.
Do not switch back to your standard keyboard. Every time you switch back, you reinforce the old muscle memory and extend the adjustment period.
Week 2
Speed starts to return. The key positions feel more familiar. The split position begins to feel normal. You'll still make occasional errors on outer-column keys, but the frequency decreases.
After two weeks
Most users are at or near their original typing speed. The split position feels natural. The ergonomic improvement — reduced wrist tension, more open shoulders — becomes more noticeable as the physical adaptation completes.
Common First-Time Issues
One half isn't working For wired keyboards: make sure the USB-C is in the correct half. For wireless keyboards: check that both halves are powered on and the inter-half connection has had time to establish.
The keyboard is typing the wrong characters Your operating system's keyboard layout setting needs to match the keyboard's firmware layout. If you're using a US QWERTY keyboard and your OS is set to a different layout, the characters will be wrong. Set your OS keyboard input to US QWERTY.
Bluetooth keeps disconnecting ZMK keyboards sleep aggressively to save battery. If the keyboard disconnects when idle, this is normal — pressing any key wakes it. If it's disconnecting during use, check the battery level and charge if needed.
VIAL isn't detecting the keyboard Make sure the keyboard has VIAL firmware installed (not just QMK or VIA). Try a different USB cable or USB port. On some Macs, you may need to grant VIAL accessibility permissions in System Settings → Privacy & Security.
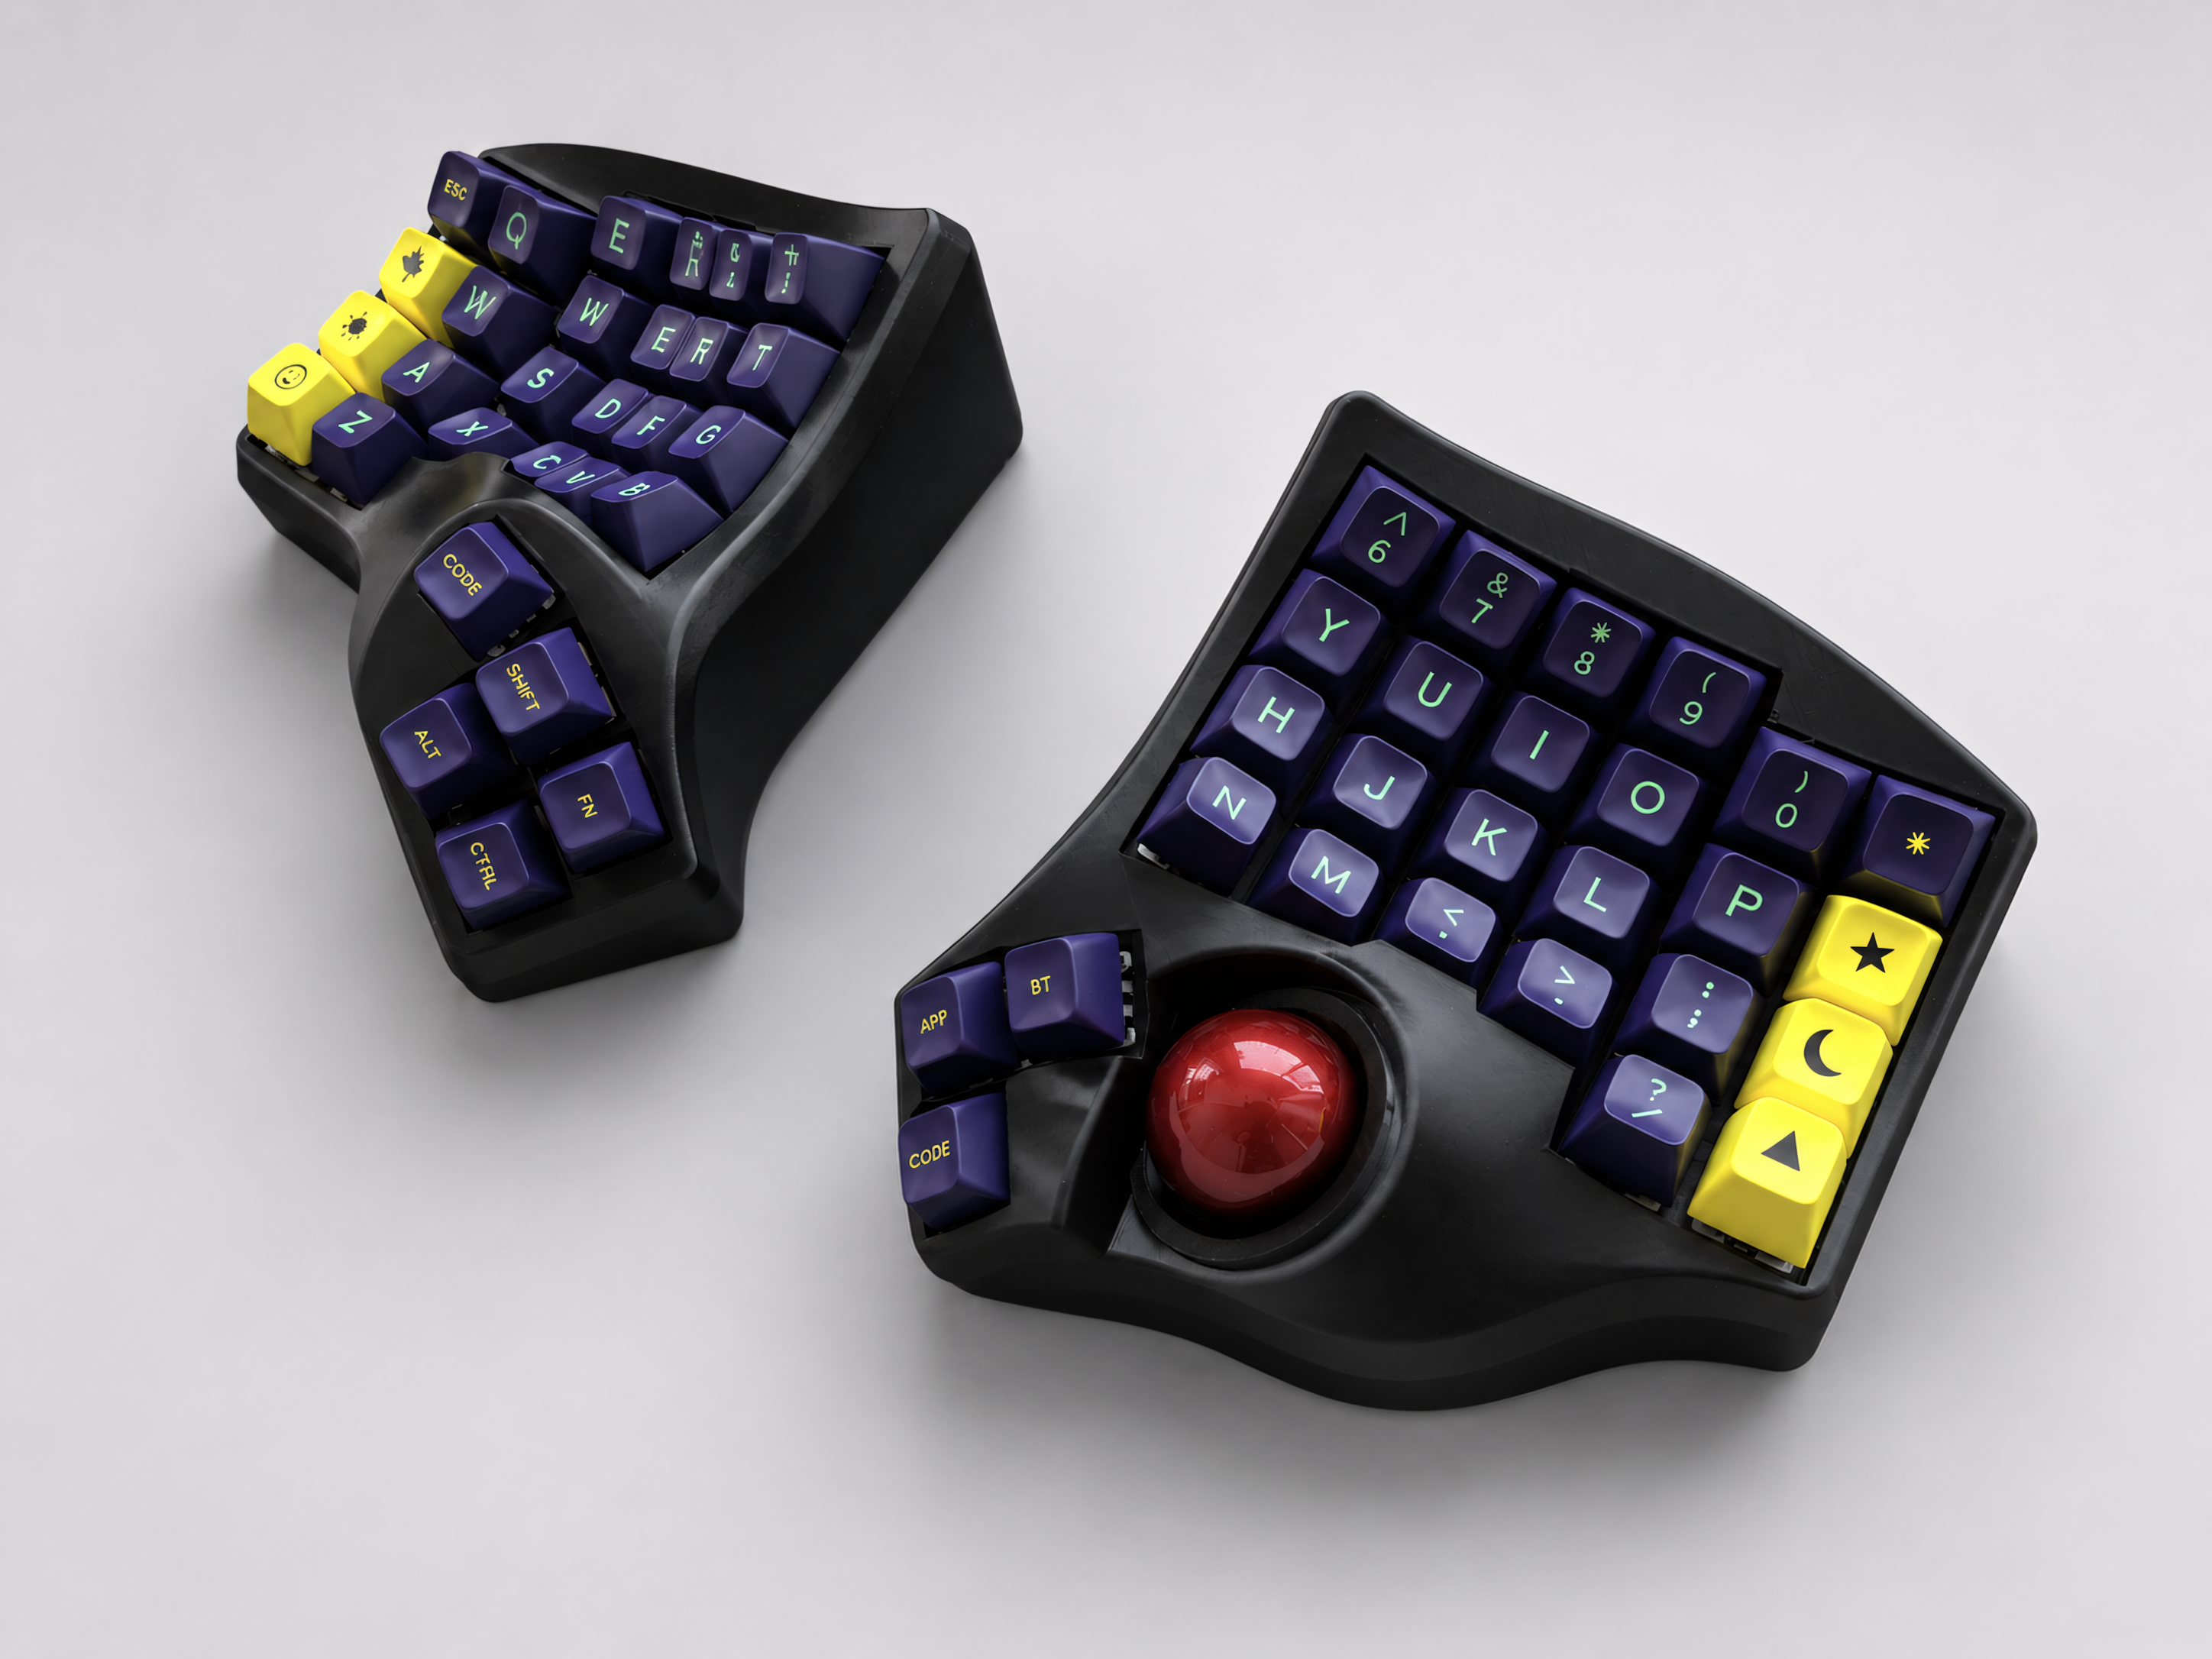
The trackball cursor jumps or skips Remove the trackball and clean the sensor window with a dry cotton swab. Also clean the ball itself — skin oils accumulate over time and affect sensor accuracy.
Next Steps After Setup
Once you're comfortable with the default layout, the most valuable customizations most users make:
- Navigation layer: Assign arrow keys to H/J/K/L (or another cluster) on a held layer — eliminates reaching for the arrow key area
- Home row modifiers: Assign Shift, Ctrl, Alt, and Cmd to home row keys with tap-hold behavior
- Macro keys: Assign frequently typed text (email addresses, common code snippets) to single keys on a layer

Leave a comment
This site is protected by hCaptcha and the hCaptcha Privacy Policy and Terms of Service apply.